


Great sound and lighting are critical to the indoor cycling experience, yet the devil is in the detail – and those details can sometimes be overlooked. John Penhallow of Fitness Audio shares five tips to maximise the impact of the AV in your cycling studio.
1. Do a ‘Clap Test’
Go into the space you’re planning to use for your cycling studio and simply clap your hands together. The objective here is to listen to what comes back; if you hear too much sound bouncing back, you’ll need to reduce the room’s reverb time, which will mean looking at ways to deaden or dry out the sound.
Start with the floor: you can get great rubber tiles made from recycled tyres these days, which not only absorb sound, but are easy to clean too. On the walls, while mirrors can be used behind the Spin Instructor’s position, resist the urge to put them all the way down the wall: they reflect sound and therefore increase the risk of mic feedback. Consider using sound-absorbing panels mounted on the walls or hung from high ceilings, too, to further ‘dry out’ the reverb time.
2. Loudspeaker Etiquette
Out of consideration for any neighbours, your loudspeakers should be hung where the sound – and especially bass frequencies – don’t travel up- or downstairs through structural supports or solid outer walls.
If you’re lucky enough to have a hung ceiling, ask the Installer to provide hanging horizontal brackets that can be tilted down, so the sound can be directed straight at your class participants.
Two x 25cm two-way powered or passive speakers should be enough to cover 20 bikes in a squash court-sized room. Go to four speakers if the room is big enough for 40 bikes, but hang the second pair halfway down the room, facing the back, rather than in the rear corners. Putting speakers in all four corners of the studio, all firing sound at the Fitness Instructor, reduces the maximum voice level (volume) the mic can operate at before feedback starts – and we all know how awful that sounds!
3. Get the Right Mic For the Job
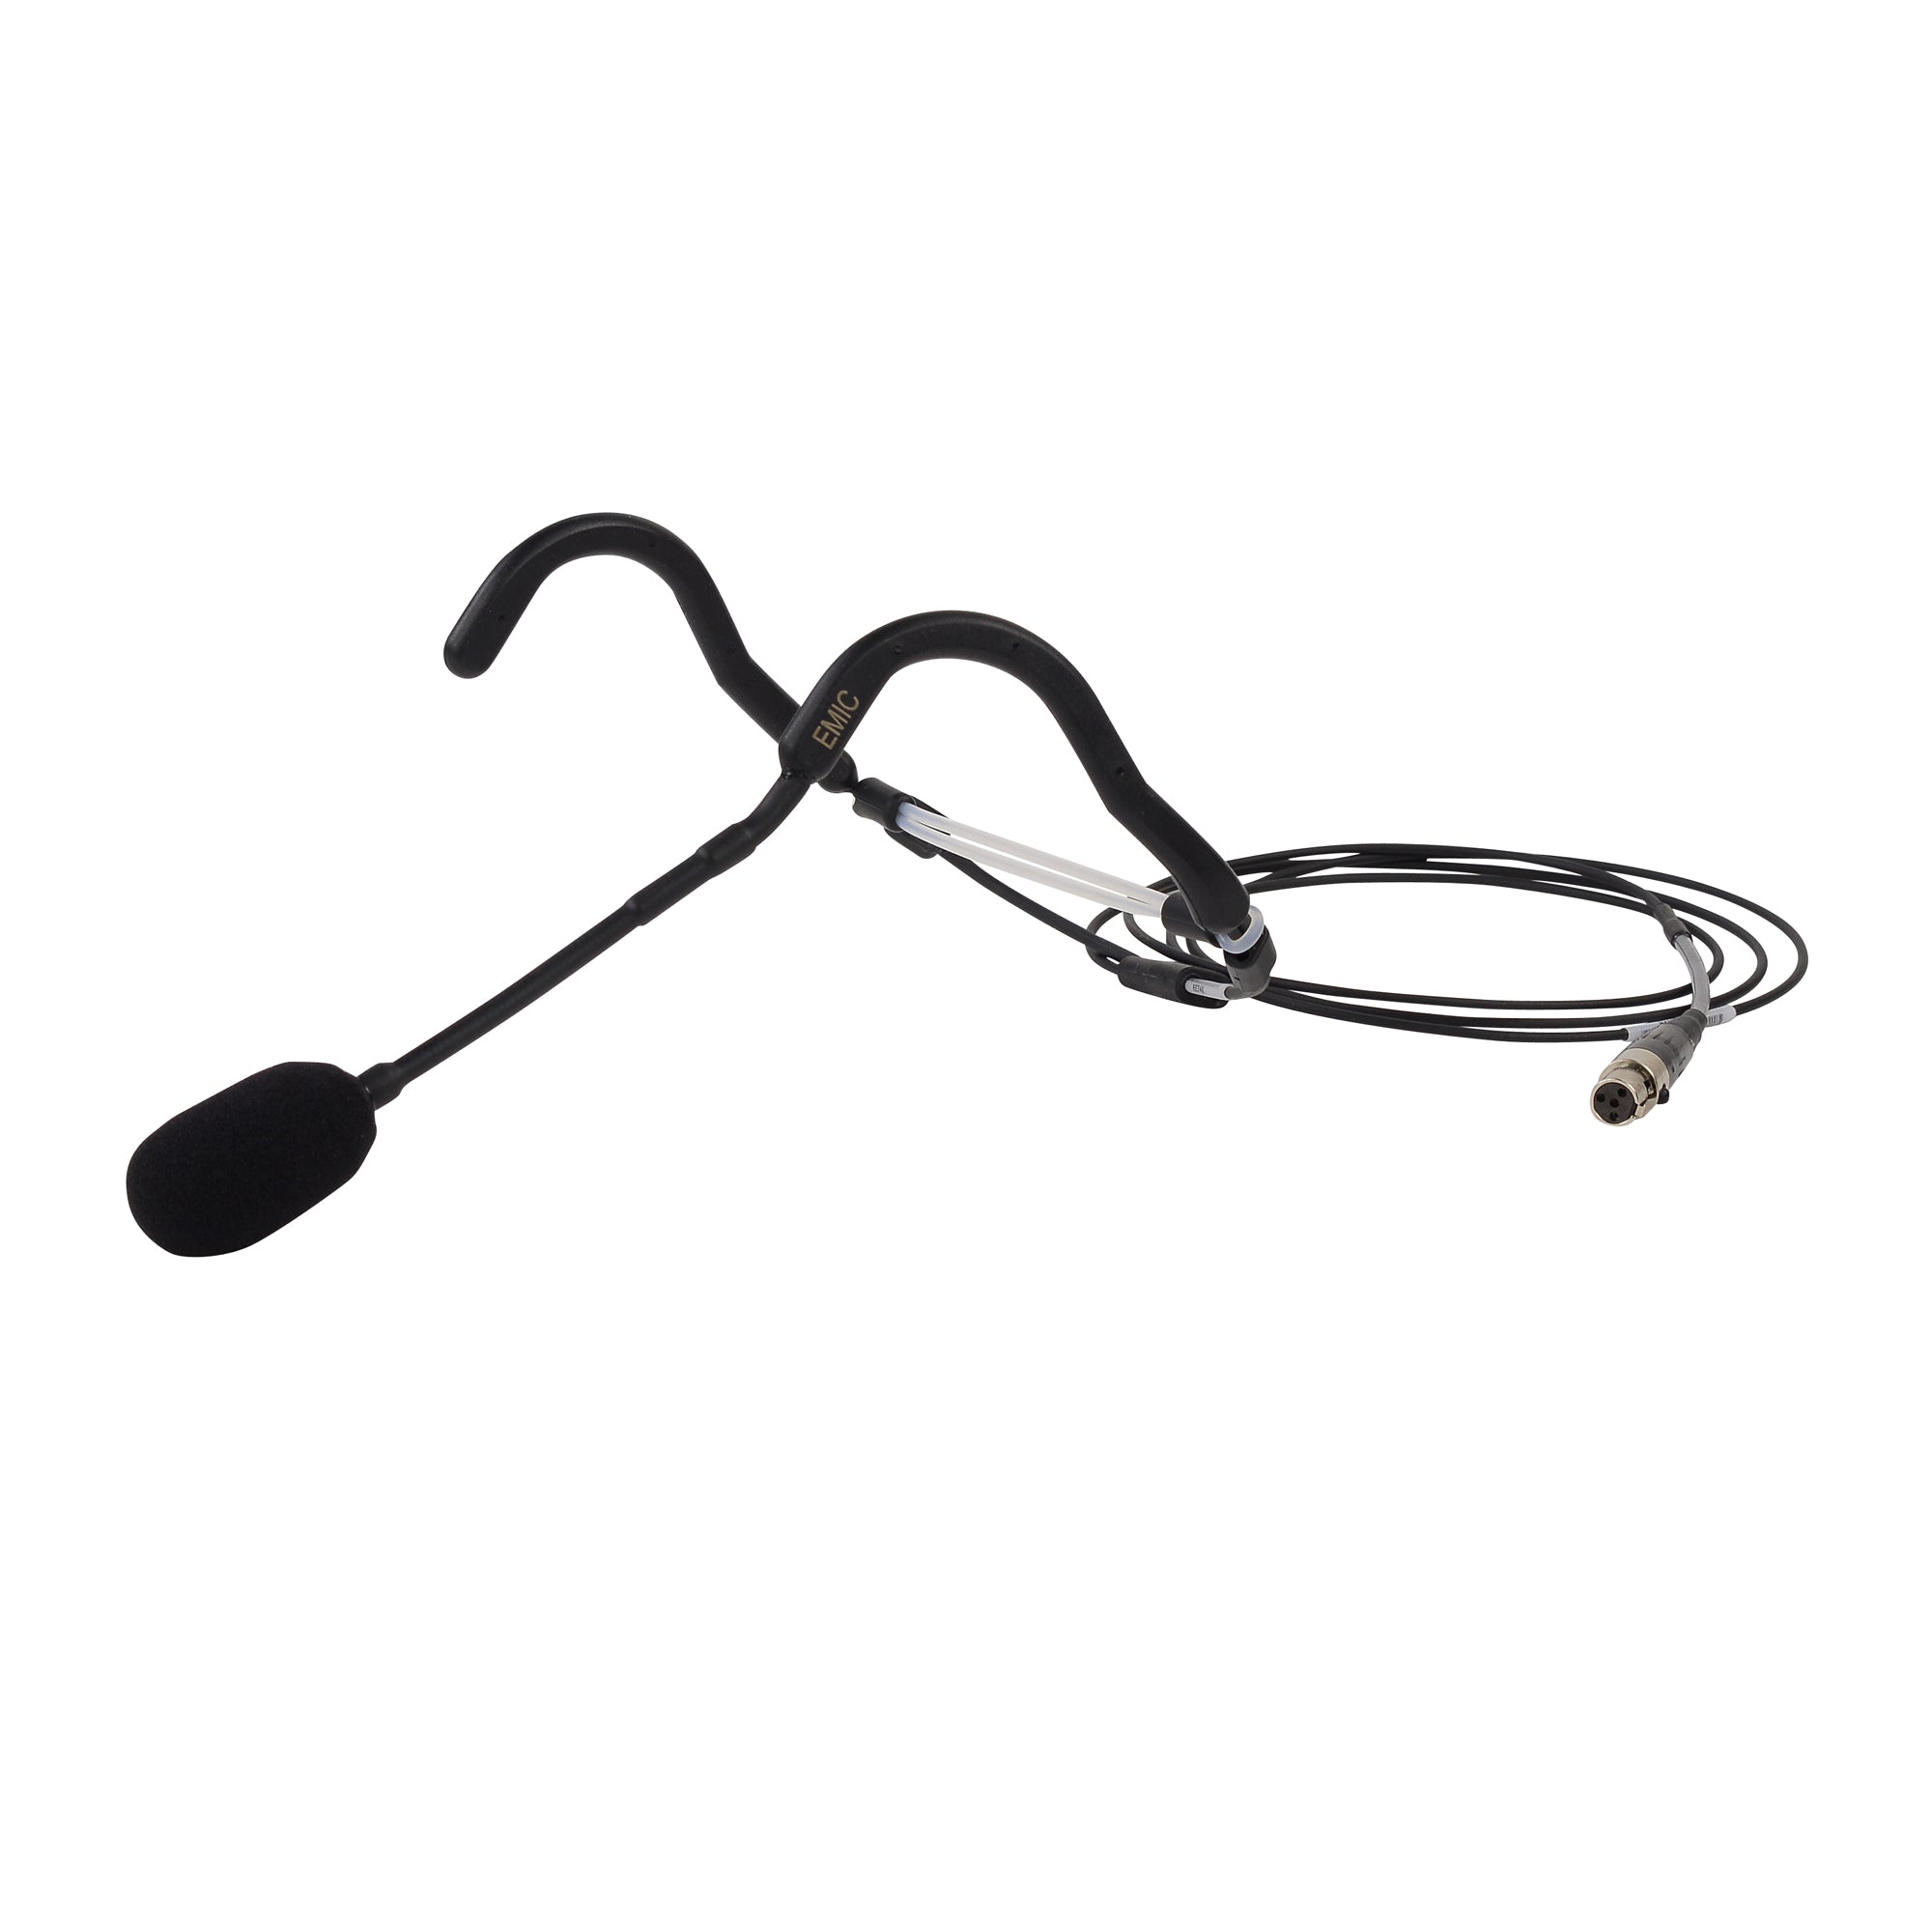
Instructing a cycling class is one of the sweatiest jobs around, and sweat is a mortal enemy for many microphones. Cheap, poor-quality microphones will not last more than a couple of months in a spin studio environment.
Meanwhile, the right mic makes for a happy Instructor, which makes for a happy class, which makes for a happy business!
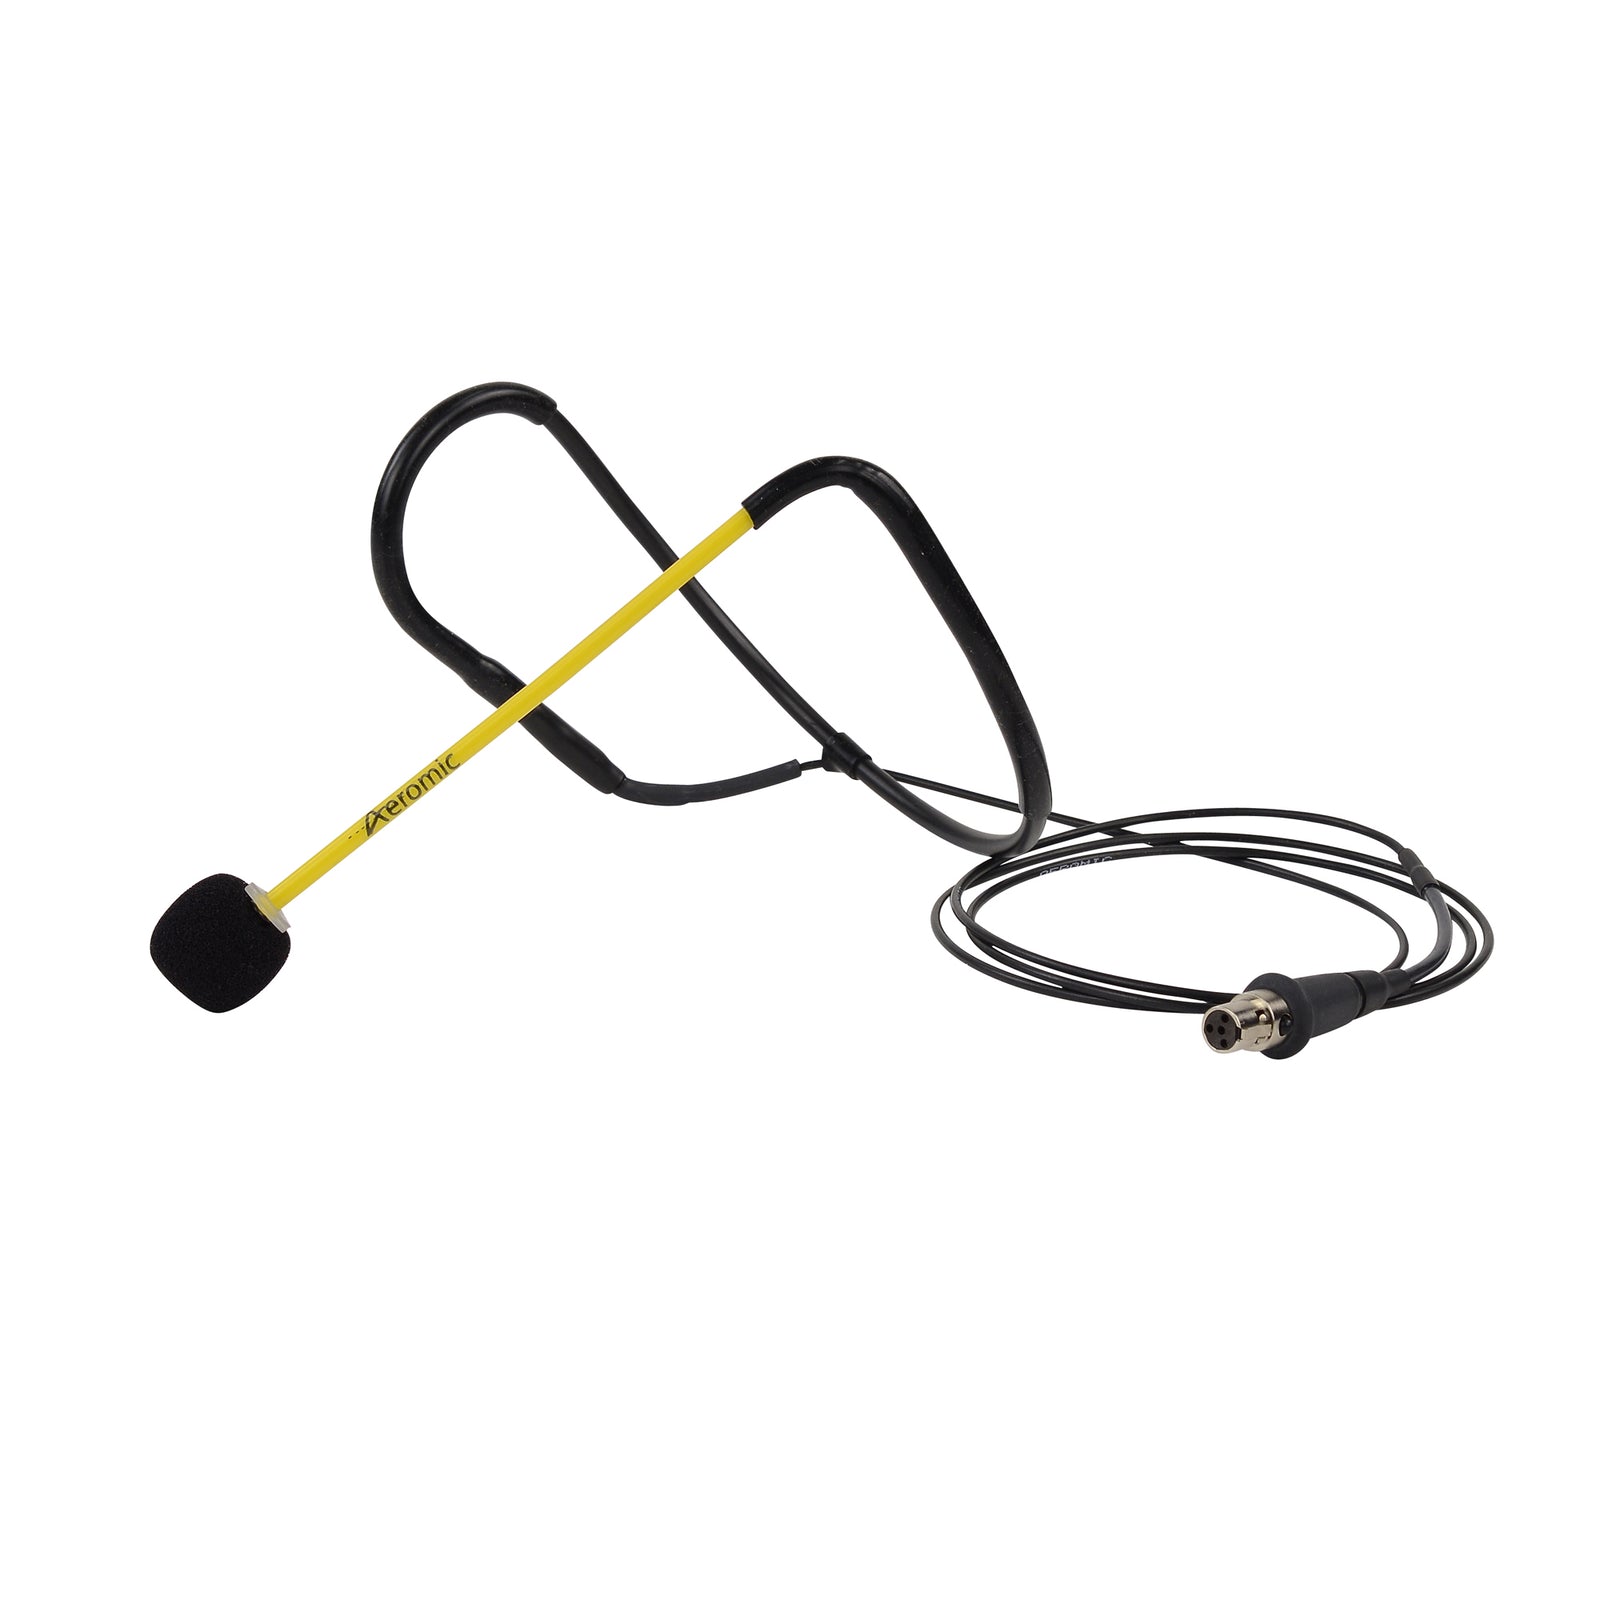
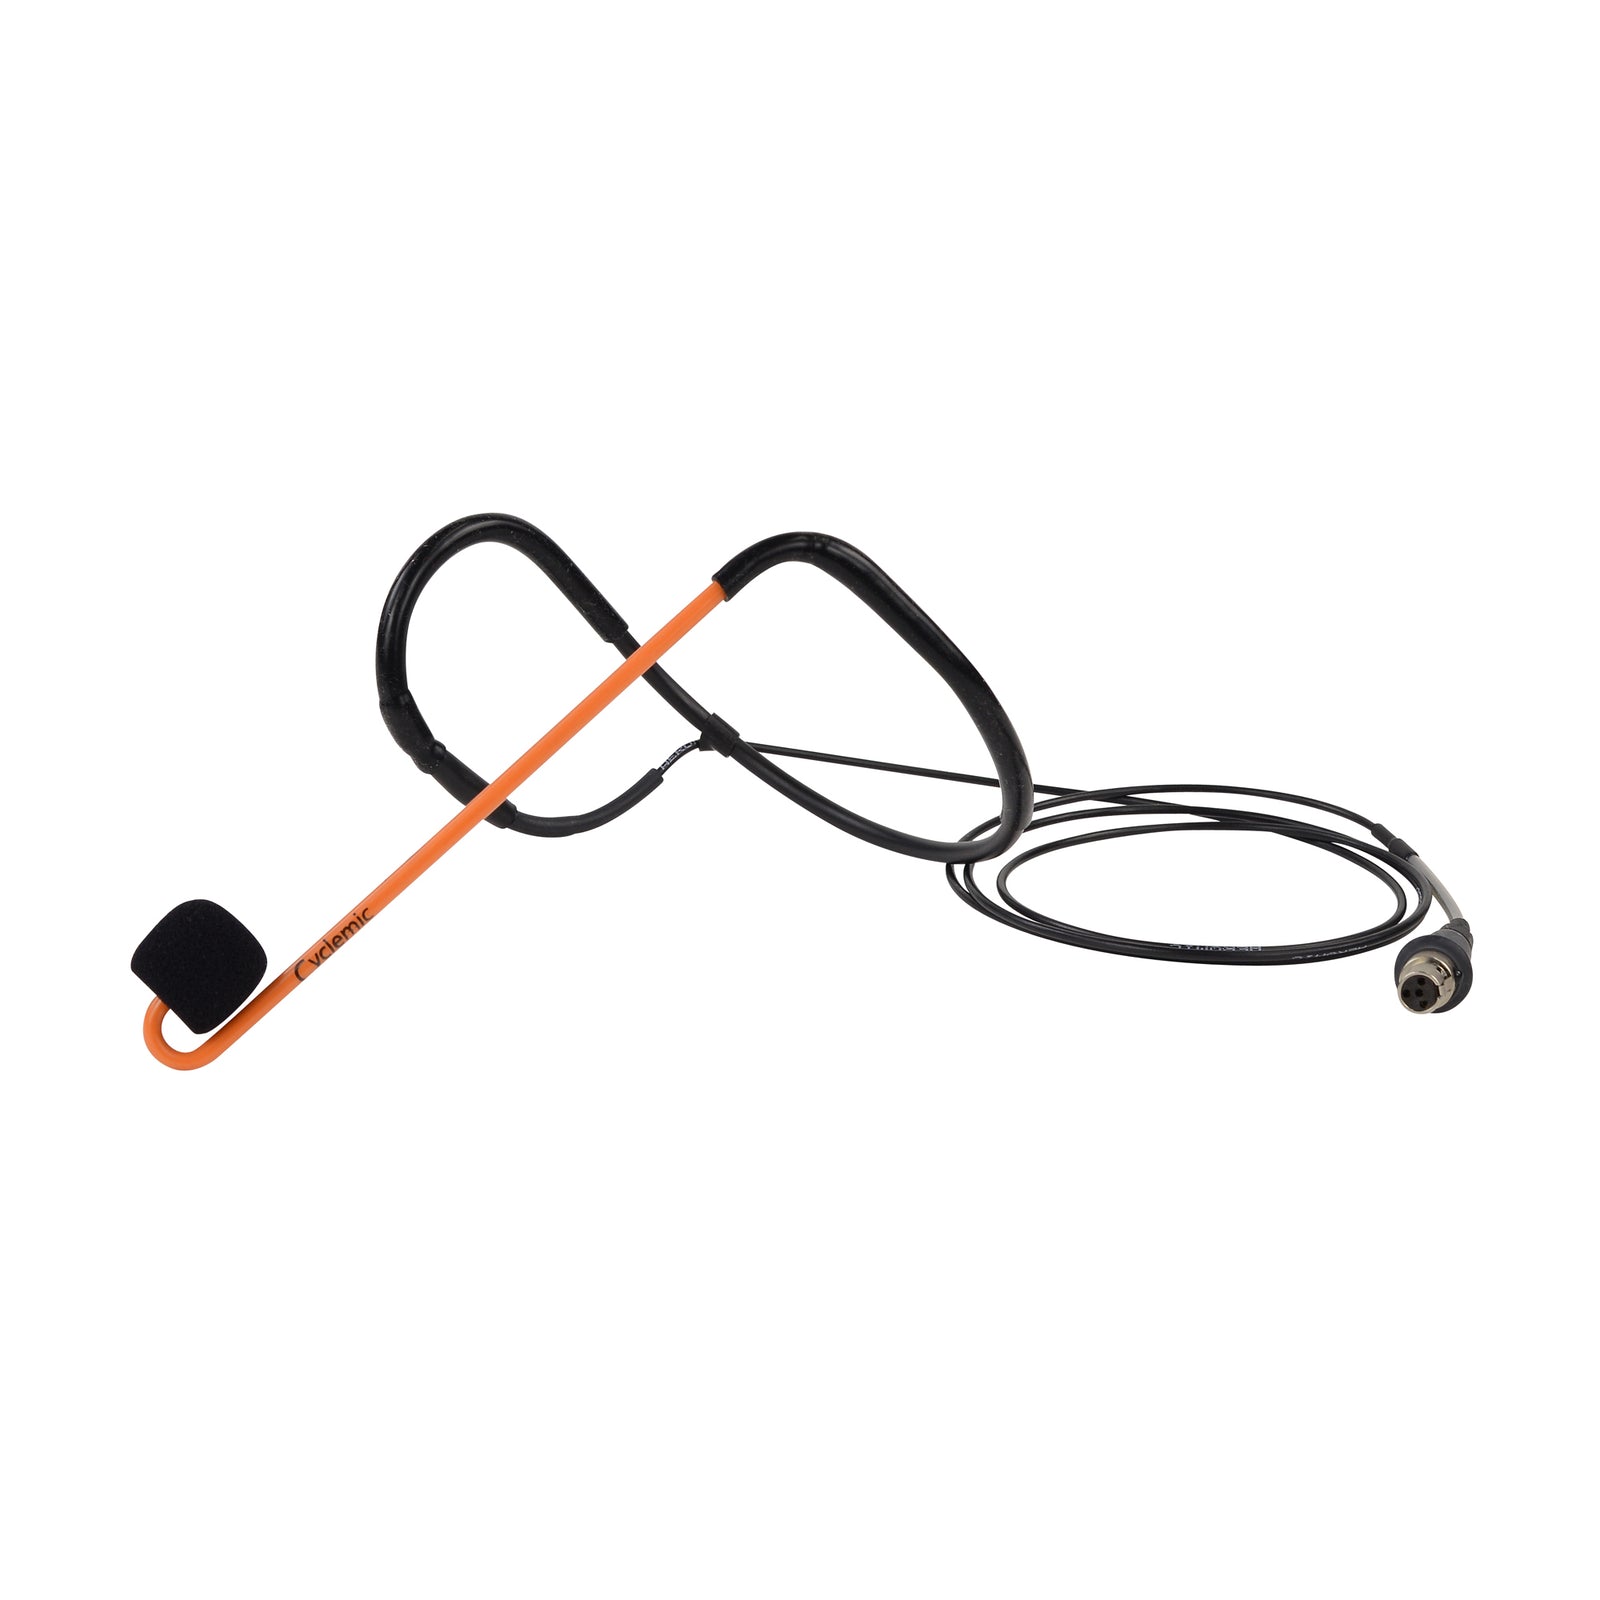
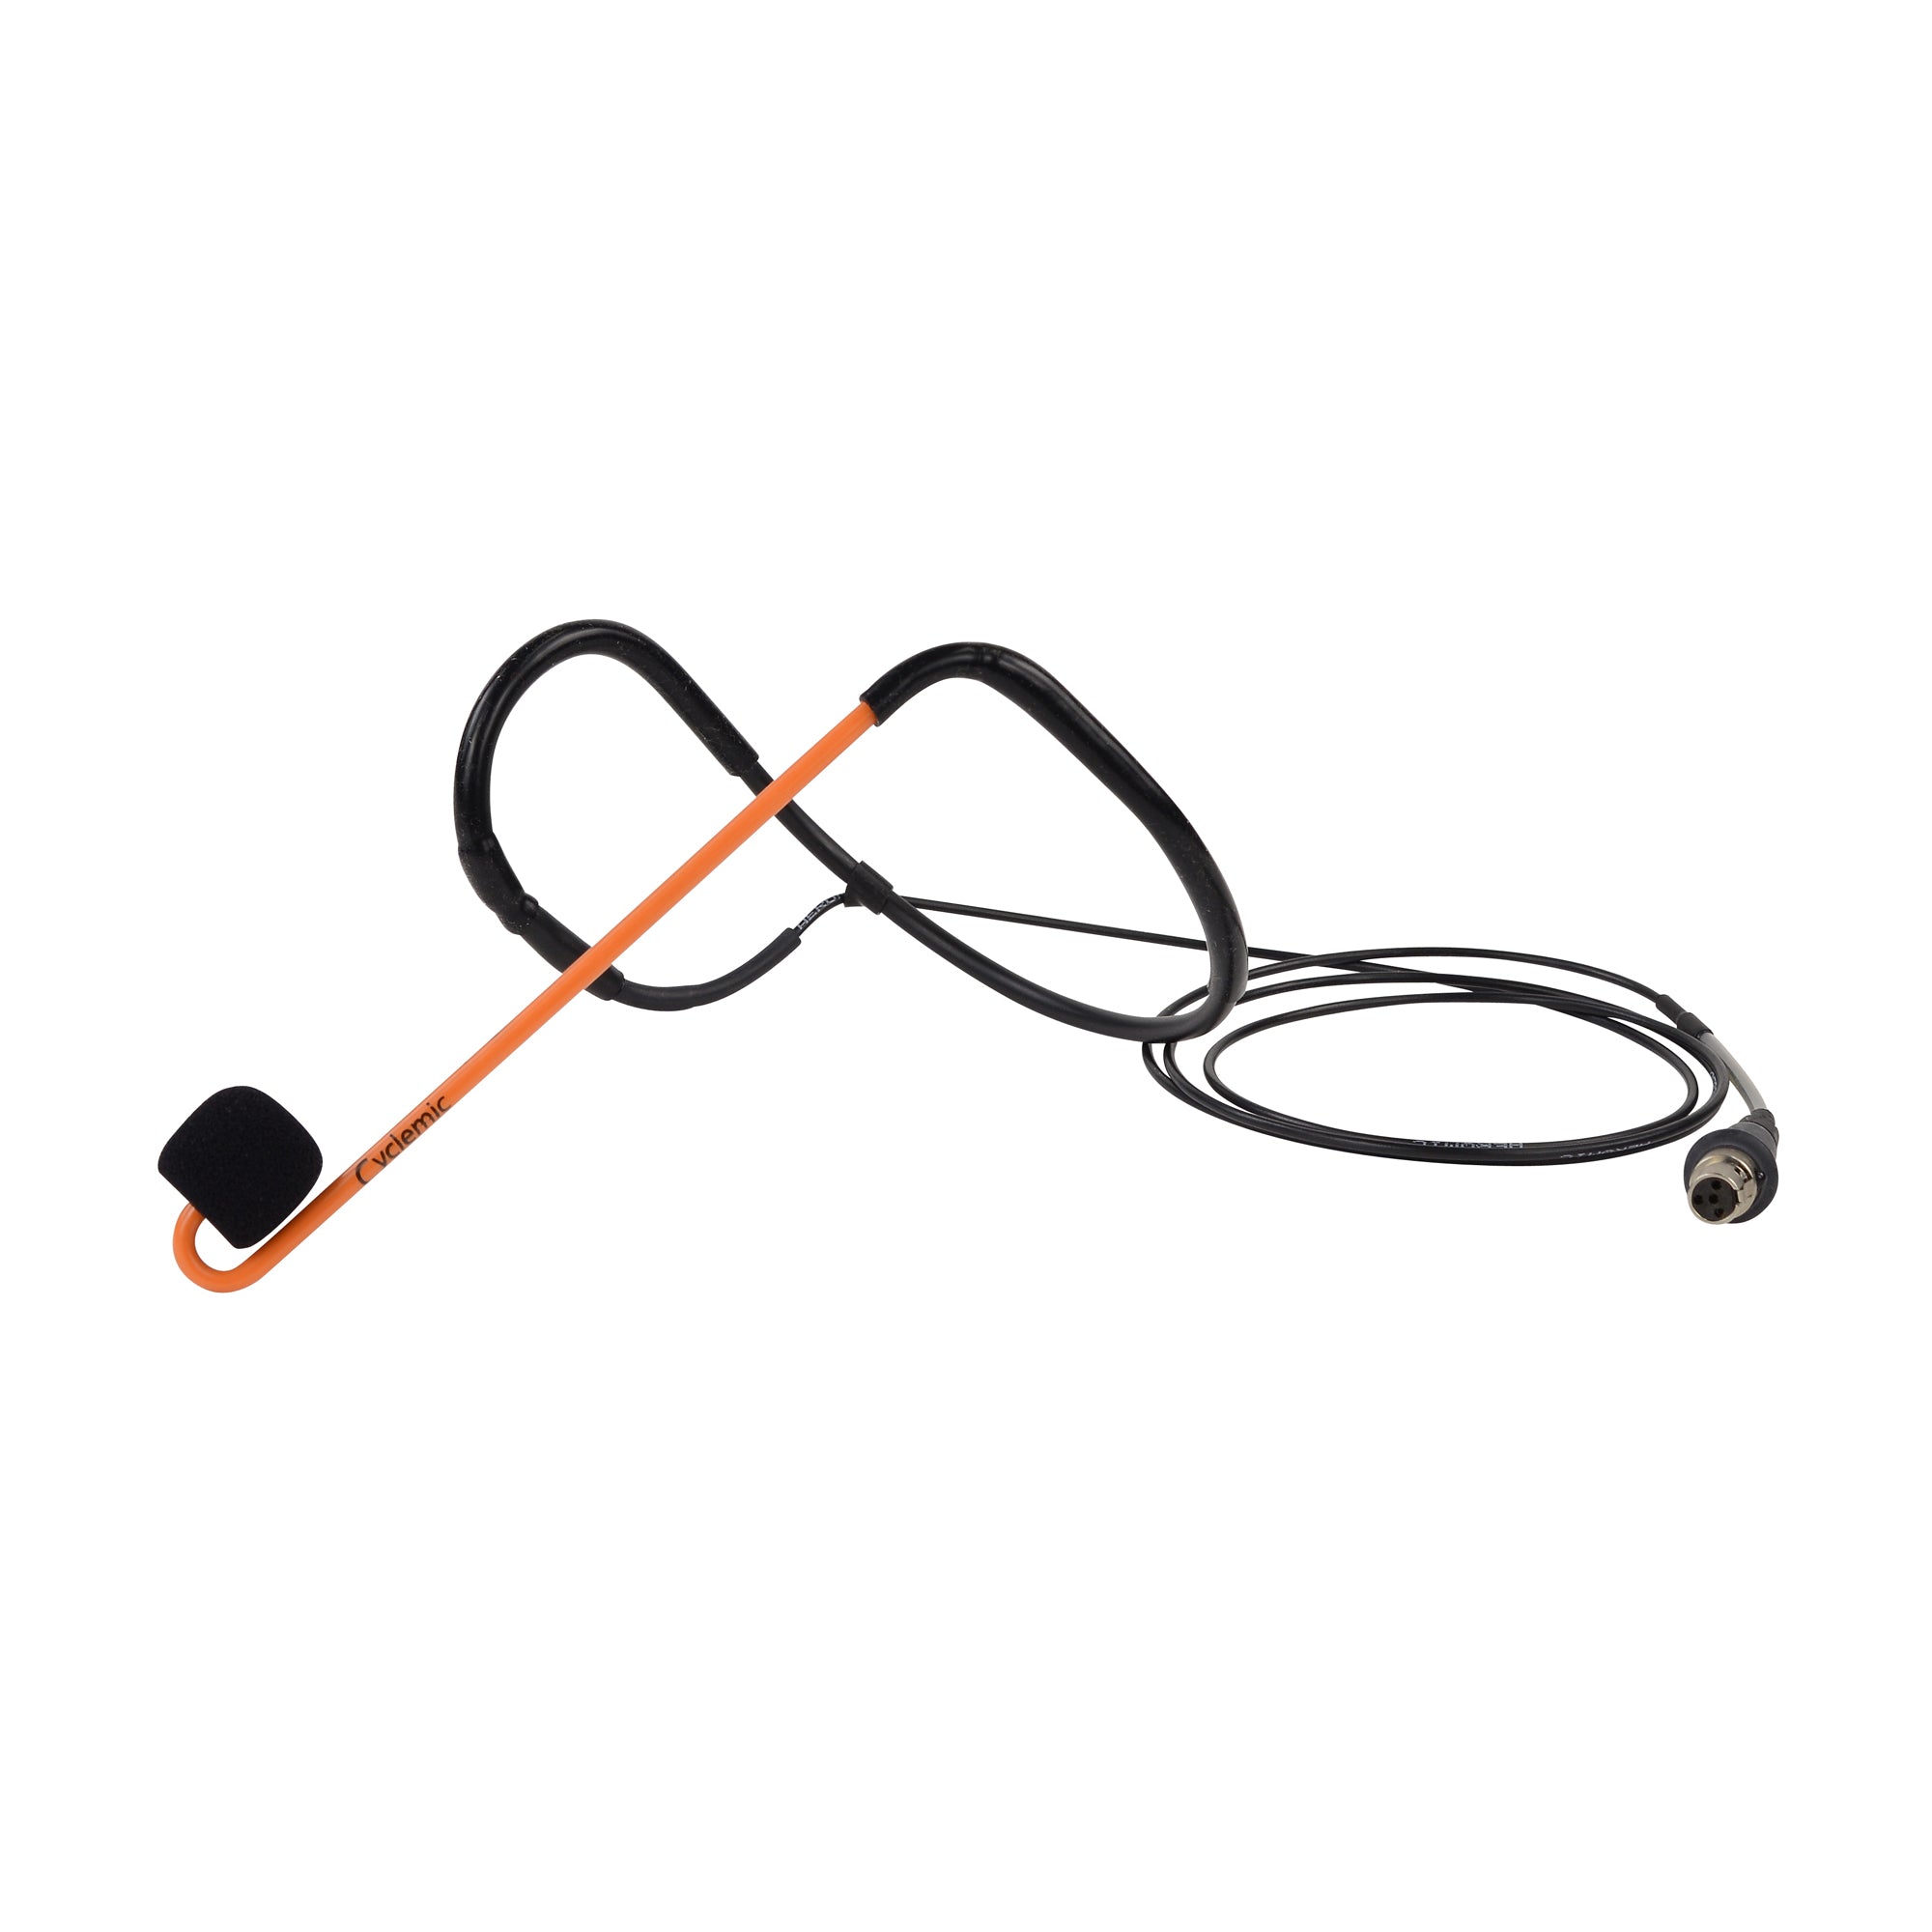
Our Cyclemic was created specifically with Cycle Instructors in mind. Its unique J-curve design drains the sweat away from the frame and the mic’s important features. Because of this, we offer a two-year warranty against ‘death by sweat’ for our Cyclemics!
Our wireless mic systems are also all equipped with our exclusive sweat-protected circuit board. This will prevent sweat from entering your mic system’s electronics and damaging them.
4. One Stream of Sound
The role of an audio mixer is to blend the Spin Instructor’s voice over the music they are playing. This ensures that all spin class attendees can hear the Instructor clearly and follow all instructions with ease.
A problem many Fitness Studios experience is purchasing an old hi-fi system that has no dedicated microphone inputs or volume control. This makes it impossible to control the voice-to-music audio ratio and as a result, many Instructors find themselves needing to scream over the music to be heard.
Another mistake is buying a modern system that connects various speakers via Bluetooth. While there is an “Aux Input” available for a wireless mic system and you can mix it with the music, there is an unfortunate delay applied to the mic input too. This is because the main speaker has to send the mix to the slave speakers wirelessly. These audio delays can be very disruptive for Fitness Instructors and class attendees alike.
The solution to both these problems is to build your own sound system. Start with a mixer, and then get your speakers, fitness microphones, receiver, and anything else you may need for your class. It’s important you invest in a good-quality mixer, such as our Aeromix 2+2SR or our brand new Aeromix 3+5LS.
Regardless of which mixer you go for, you should make sure that it has separate Bass and Treble Controls for both the Mic Input and the Music or Line Inputs. Any mixer that has only one set of tone controls will produce uneven and poorly-sounding audio.
Our Aeromix Mixers have separate tone controls and the Master Volume control is hidden away on the back. This way, Instructors can set and forget the sound system and focus on delivering an A+ spin class. Our new 3+5LS Mixer also has 3 additional features. A digital output for live streaming classes, a built-in Limiter to hold the sound at a pre-set level, and a special input for Virtual Cycling Class soundtracks. This ensures that your clients can’t alter the volume of your sound without consulting a staff member first.
5. LED Lighting - Creates the Atmosphere
So, you have great sound in your studio, but something is missing. The atmosphere isn’t quite right.
It’s time to take a look at your lighting: cold white fluorescent strip lights across the ceiling are guaranteed to kill the mood!
Instead, you should opt for dynamic, colour-changing LED strip lighting. If possible, get a lighting system that is programmable, and allows you to play pre-set light shows that move with the rhythm of your music.
Th is will create an engaging, motivational atmosphere that will leave your customers wanting more and looking forward to their next visit!
For more information on enhancing the AV in your spin studio, get in touch with Fitness Audio today!