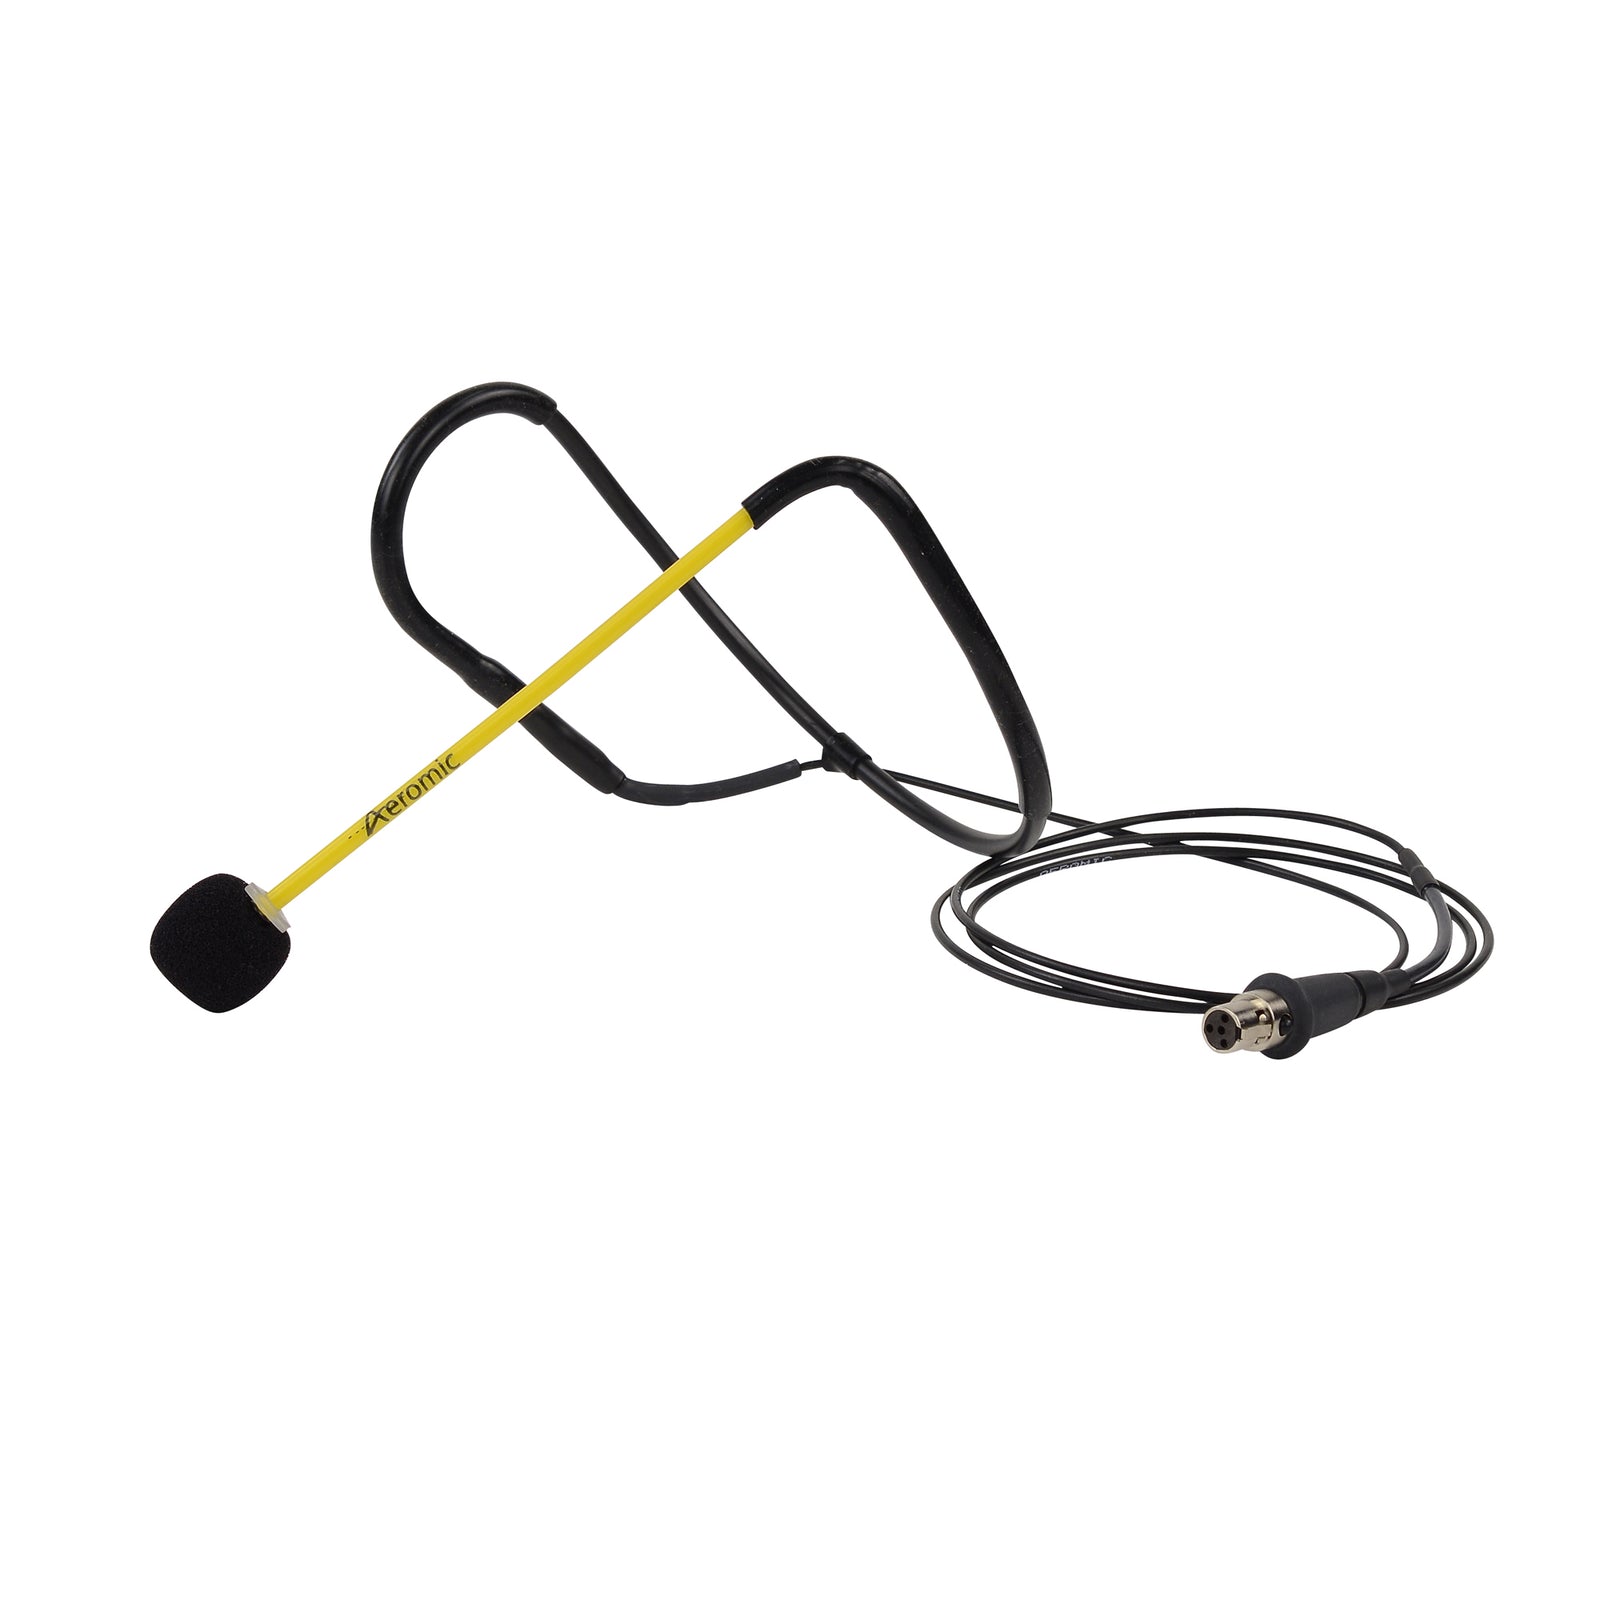
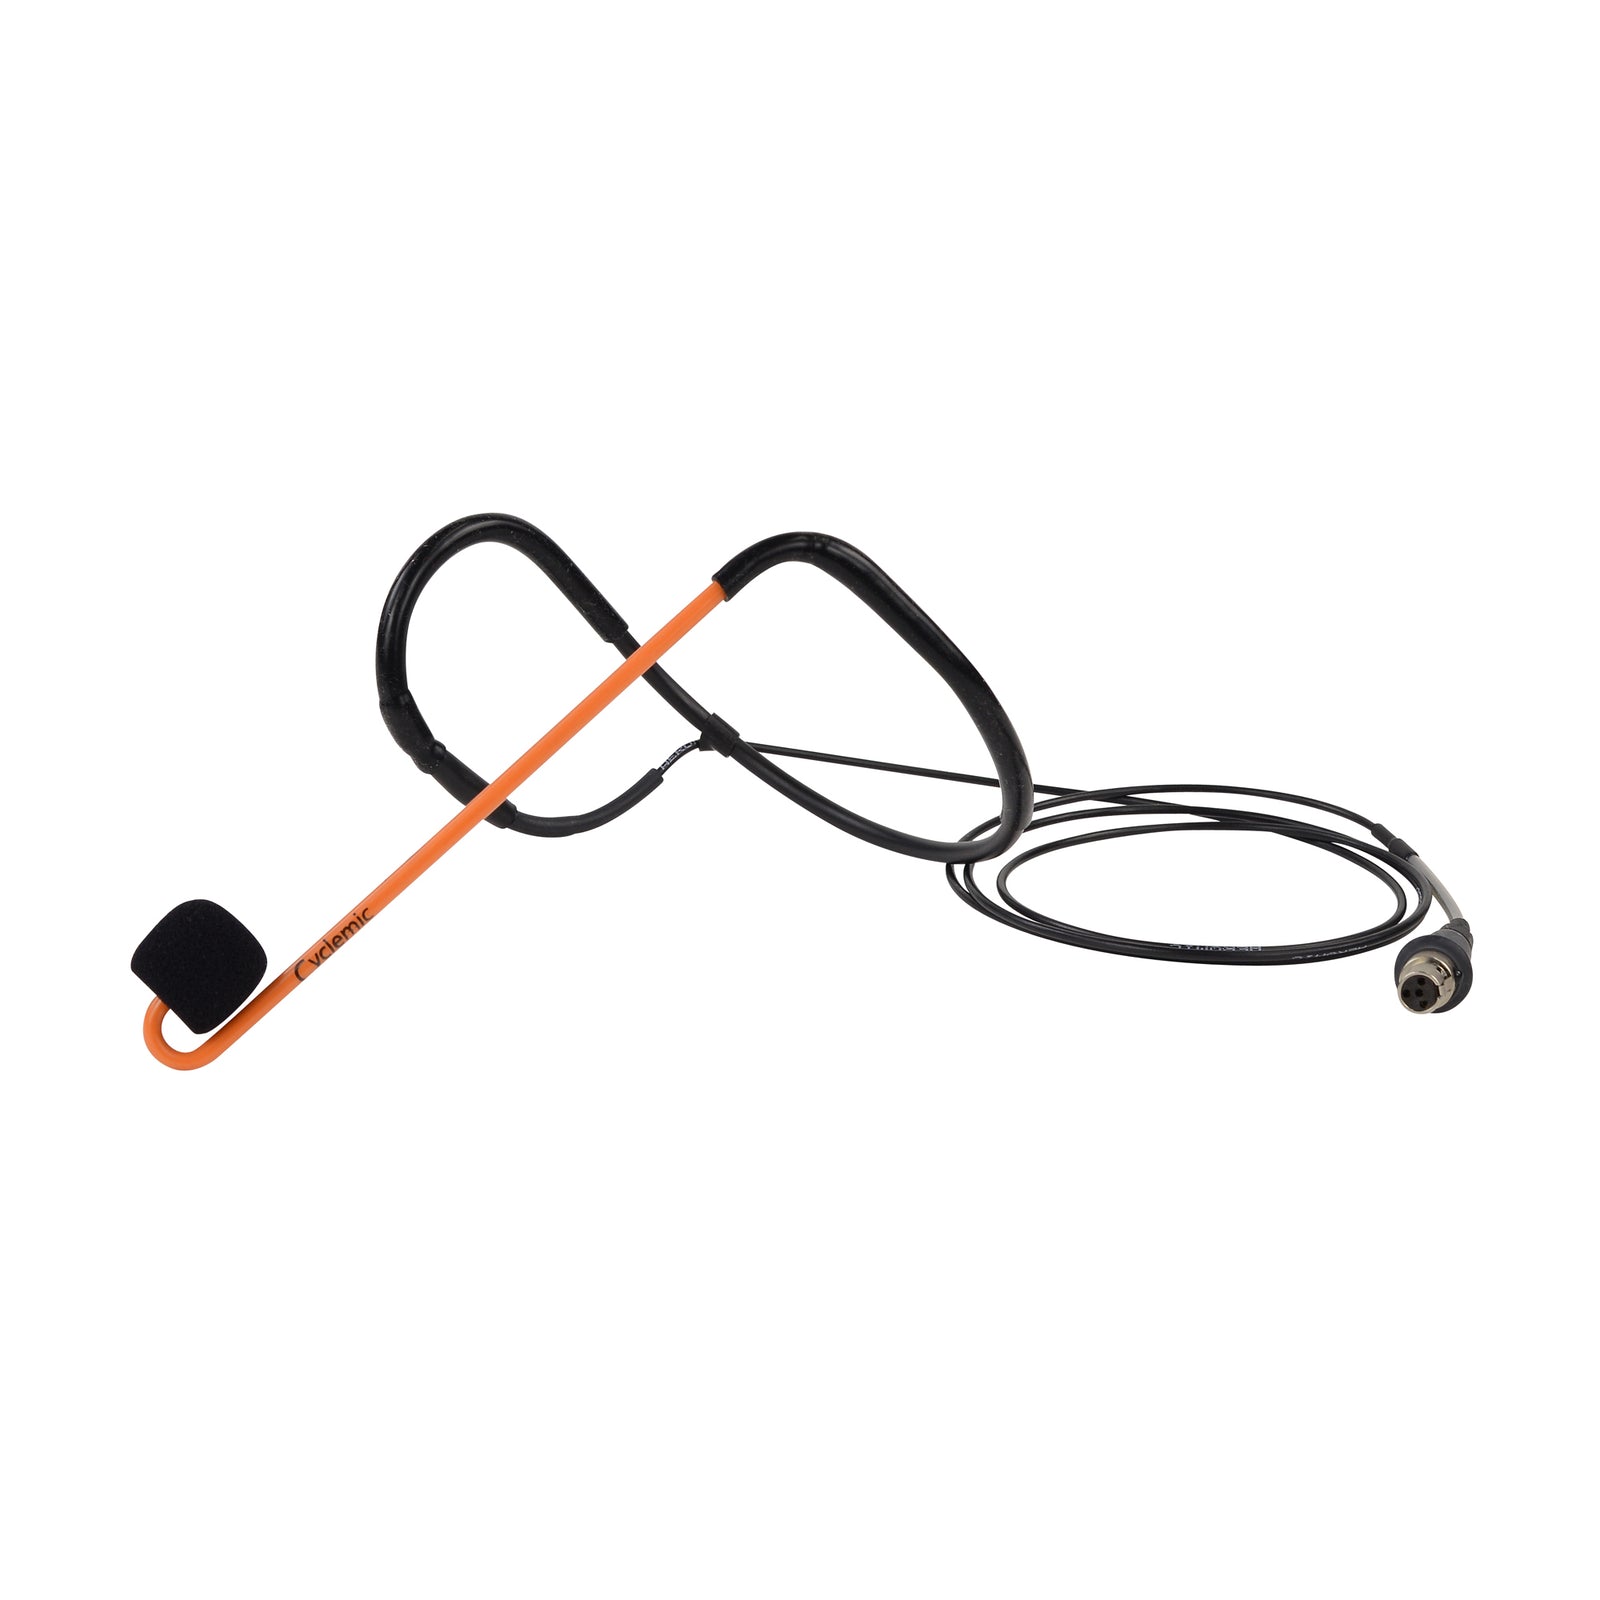
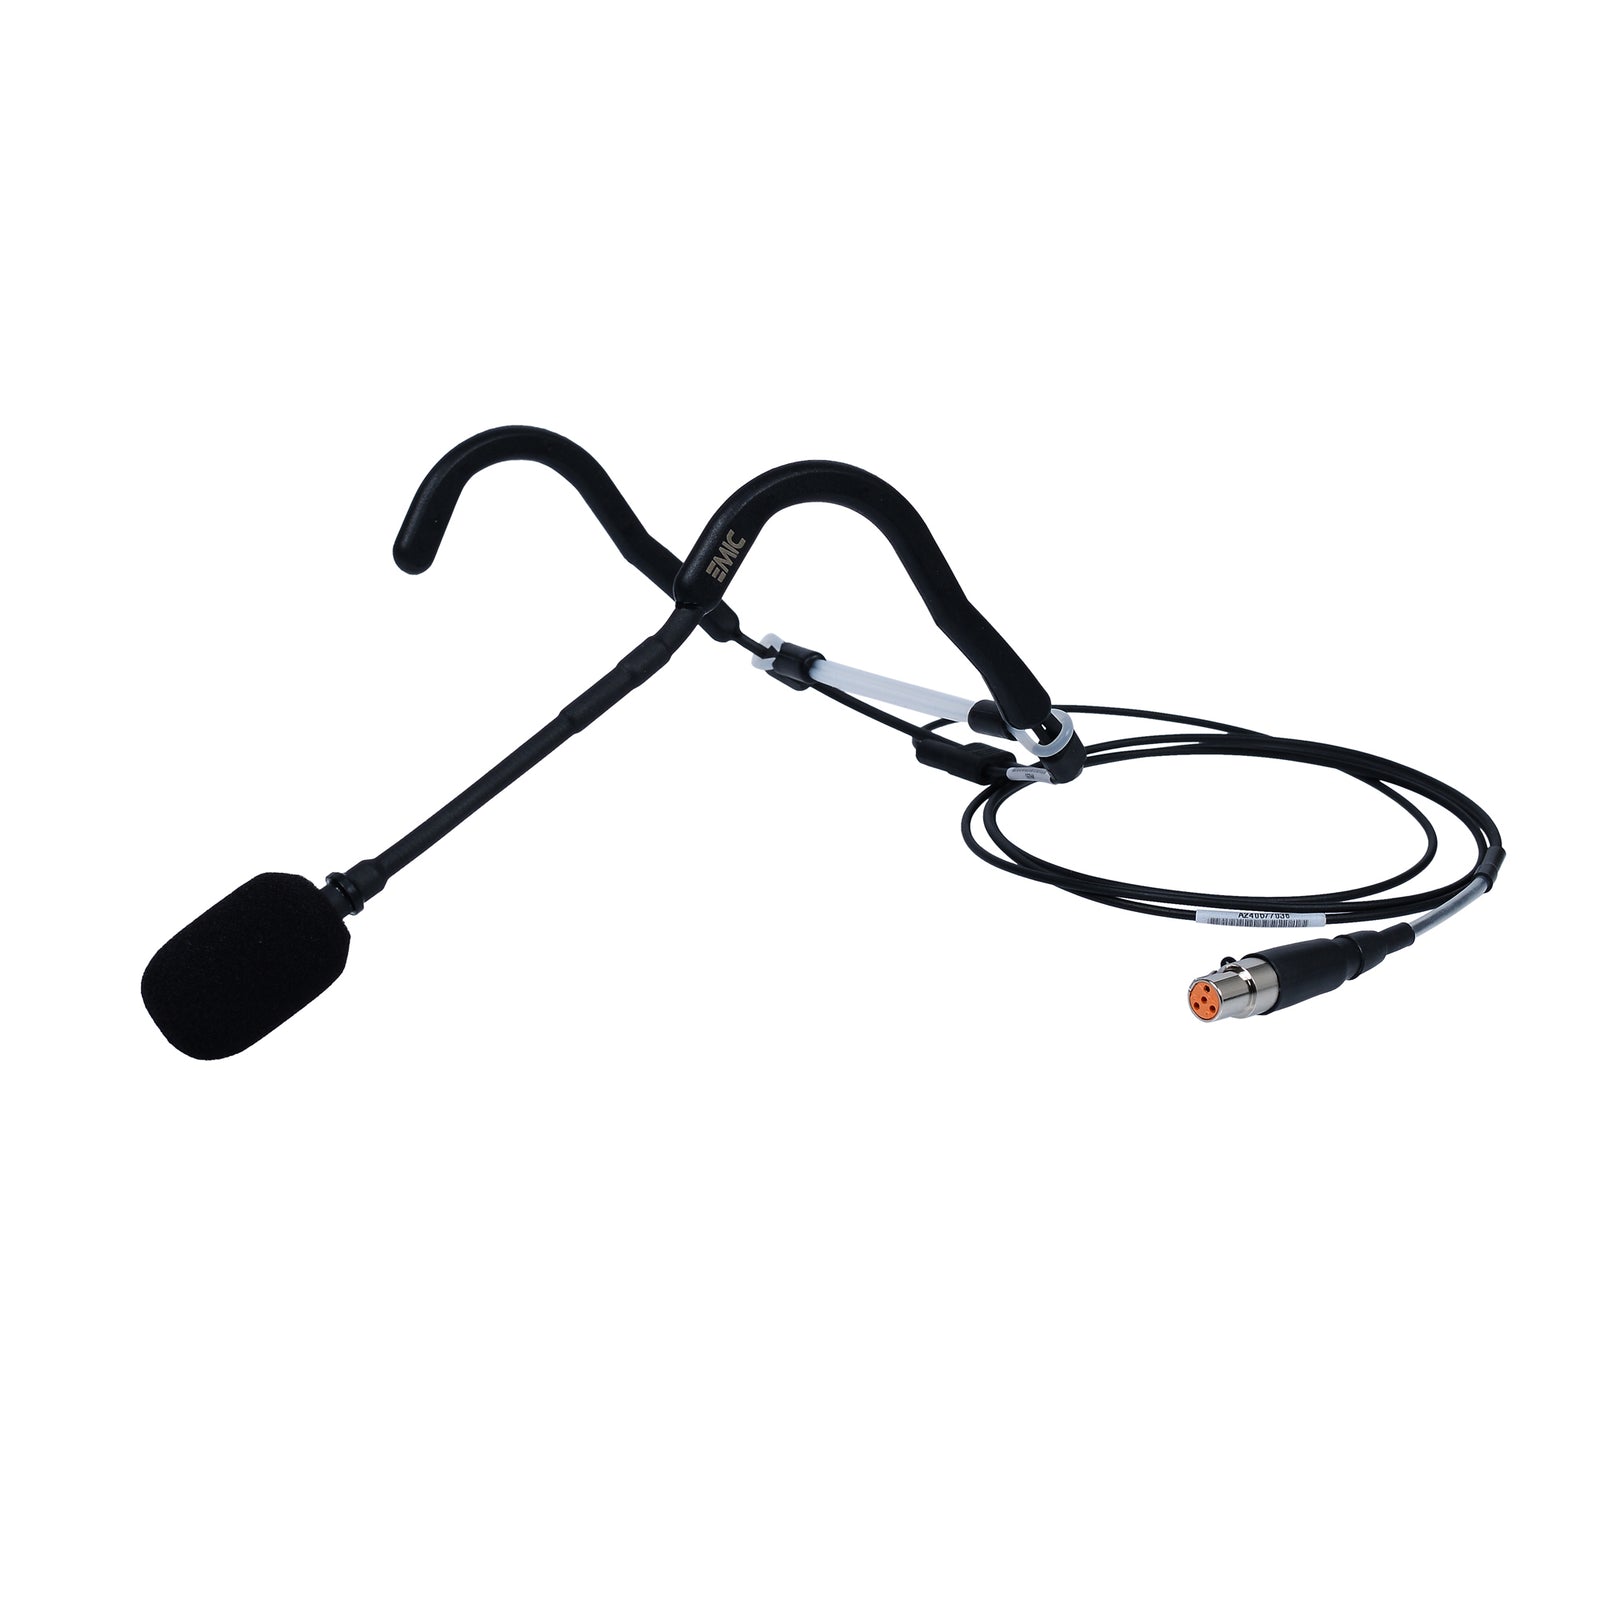
We’re helping to keep your maintenance costs down with this step by step guide for all fitness studio sound systems that use our microphones.
BEFORE THE CLASS STARTS
1. Turn on each component starting at the top of the equipment rack so that the Power Amplifier is turned on last.
2. Ensure the right beltpack and headmic is being used in the right studio. Beltpacks should be clearly labelled and headmics should remain attached to packs at all times.
3. Perform a battery check on the beltpack.
4. Turn the volume controls for both music and mic all the way down.
5. First set volume for microphone on your mixer. Turn the Mic Volume up while speaking clearly into headset. Adjust levels to suit.
Never blow into the mic capsule!
6. Start music playing. Slowly increase the music volume until your voice can be heard clearly over the music.
7. While your headmic is active (for testing and during class), do not stand with mic facing any speakers, as this may result in feedback or howling.
ENCOUNTERING MIC PROBLEMS?
Is the mic cutting out during class?
1. Turn pack off, then put on again.
2. Do a battery check – on most packs a flash indicates a charged up battery when you turn it on and a constant light or nothing at all indicates a low charge or dead battery.
3. Some brands have a 2 stage turn on procedure using a Standby switch after the Power On.
4. If battery is ok, but there is still a problem, check that the battery terminals are making sufficient contact with batteries.
5. If problem persists, check the headset microphone capsule for moisture/perspiration.
6. Gently tap the headset capsule against some tissue paper to remove excess moisture.
7. If problem still persists, contact your service provider and locate a spare headmic/beltpack.
Always remove the battery from the Beltpack after a class and at the end of the day.
Does the Mic sound scratchy?
1. Spray a little Deoxit D5 cleaner into the connectors, never spray anything into the mic capsule
2. If problem still persists, contact your service provider and locate a spare headmic and/or beltpack.
ENCOUNTERING CD PROBLEMS?
Is the CD jammed?
1. If CD is jammed do not attempt to dislodge it yourself, as the CD tray and gears are very fragile and require the correct tools to remedy.
2. So, when the CD is jammed inside the player, contact your service provider and locate a spare CD Player.
Is the CD skipping or jumping?
Before making a service report to your service provider:
1. Check that the CD is not a copy.
2. If CD is original, use a CD cleaner to remove fingerprints.
3. If the problem still persists, contact your service provider and locate a spare CD Player.
Smart Phone Playback Issues via a simple fly lead connection
If the sound is muddy or lacking in volume then check that the EQ setting is reset to FLAT and that the Volume Limiter is set to MAXIMUM LOUDNESS and that the volume setting is at least 80% turned up.
ENCOUNTERING VOLUME PROBLEMS?
The area to check if your mic or music volume is not ideal is:
* Mixer volume settings
* Amplifier volume – generally speaking – dedicated power amplifiers should have their channel volume controls set at maximum and room volume is controlled by the mixer.
Do remember, if you cannot hear your voice on the mic, over the Music volume, then you should always turn down the music volume. DO NOT increase the Mic volume as this may result in feedback or howling!
DO’S AND DON’T’S
General
Do not ever place water/liquids of any kind on top of the equipment rack.
Microphone system (beltpack and headset)
* Do ensure you are using right pack for the right studio.
* Do store mic correctly after use (refer to supplier).
* Do not bend headset shaft for any reason.
* Do not excessively ‘whack’ the mic pack.
* Do not blow into mic capsule to test.
Batteries
* Do only use the manufacturers/distributors recommended brand of batteries. (There is no exact size spec for 9Volt batteries!)
* Do only use fully charged batteries if using rechargeables.
* Do only charge rechargeable battery with compatible charger (nimh/nimh, nicad/nicad).
* Do not leave batteries in pack after use.
Aeromixer
*Do not twist volume dials aggressively.
CD Player
* Do ensure that your CD is sitting flat in tray.
* Do not open or close CD tray manually, use the button!
* Do not continuously press CD buttons; allow the machine some time to respond.


